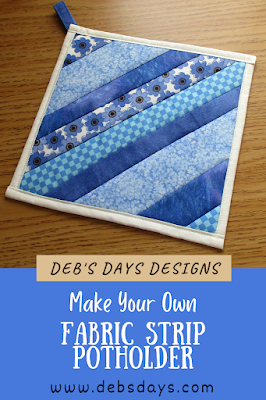
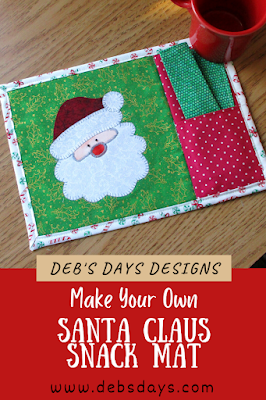
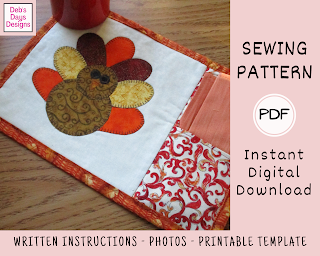
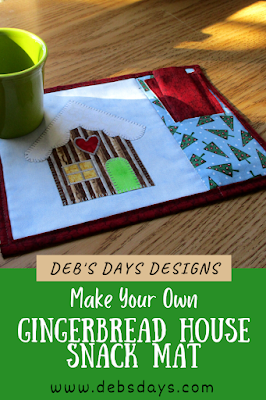
Here's another way to make your Christmas holiday coffee, tea, and snack time more fun...it's a cute gingerbread house mini placemat. You'll be able to make your own appliquéd and quilted gingerbread house snack mat / mug rug / coaster with a pocket for a napkin and cutlery (or a snack) with this fun project. The snack mat measures approximately 8 ½” x 12” and you'll even get the directions on how to make the cute little 7" x 7" reversible cloth napkin! Keep it at home to decorate your table, take it to work to make your lunchtime feel even more festive, send it in your child's lunchbox, or use it for a handmade Christmas gift.
For this project you will need:
- fabric scraps for the applique
- fabric for the front, back, pocket, and napkin
- cotton batting
- paper-backed fusible web like HeatnBond light
- pencil
- fabric clips or pins
- iron
- sewing machine and matching thread
- basting spray or powder
- scissors, rotary cutter, cutting mat, cutting ruler
- walking foot or free motion foot
- gingerbread house templates from pattern
Disclosure: Deb's Days is a participant in affiliate advertising programs designed to provide a means for me to earn fees by linking to affiliated sites. This means that, at no additional cost to you, I will earn a small commission if you click through and make a purchase. Your purchase helps support my work in bringing you new sewing and crafting content.
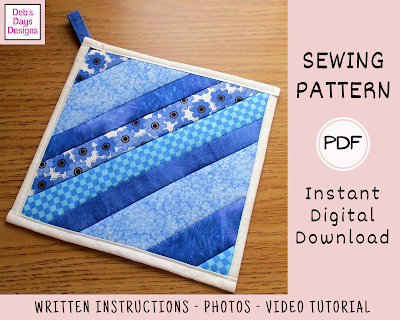
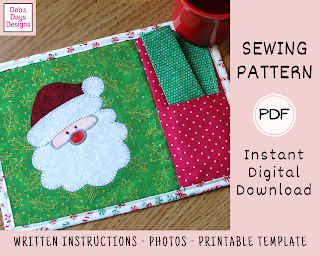
The written pattern contains step-by-step how-to directions, photos, link to the video tutorial, and the printable gingerbread template to make a snack mat measuring approximately 8 ½” x 12” with a 7” x 7” reversible cloth napkin.

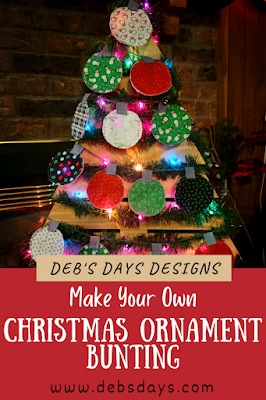
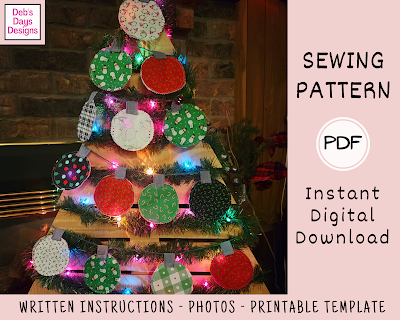
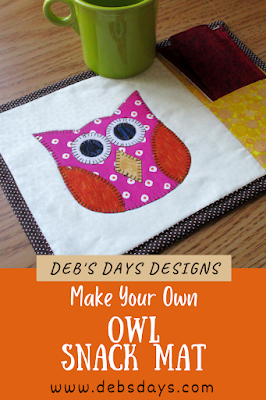
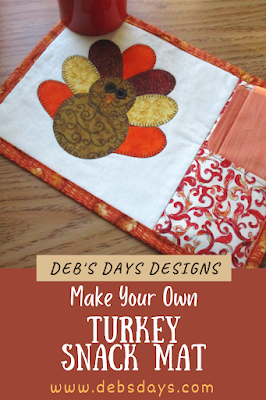
Looking for other Christmas holiday mug rugs/snack mats? Check out these other projects!


Or just join us as we make the appliquéd gingerbread house project: